Hey everyone, I hope you’re having an amazing day today. Today, I will show you a way to prepare a distinctive dish, easy homemade brown rice amazake with a yogurt maker. It is one of my favorites food recipes. This time, I will make it a bit tasty. This is gonna smell and look delicious.
Amazake is one of the Japanese traditional fermented drink and it is called "drinkable IV" or "energy In this video, I will show you how to make amazake at home in super easy way with rice cooker. This one does not contain any alcohol. Ginger is the common spice added to amazake drink.
Easy Homemade Brown Rice Amazake with a Yogurt Maker is one of the most well liked of current trending meals on earth. It’s easy, it’s quick, it tastes delicious. It is appreciated by millions daily. They are fine and they look wonderful. Easy Homemade Brown Rice Amazake with a Yogurt Maker is something that I have loved my entire life.
To get started with this recipe, we have to first prepare a few components. You can have easy homemade brown rice amazake with a yogurt maker using 5 ingredients and 12 steps. Here is how you cook that.
The ingredients needed to make Easy Homemade Brown Rice Amazake with a Yogurt Maker:
- Make ready Brown rice cooked as usual
- Take Water
- Make ready Dried koji rice malt
- Get Equipment
- Make ready Yogurt maker
Amazake made with rice koji has more nutritional value than the one made with sake lees, and Use whatever device you like (a rice cooker, yogurt maker, thermos pot/jar, etc). To me, the rice cooker is Creamy with a natural mild sweetness, Amazake or sweet sake is a popular Japanese hot drink. Great recipe for Easy Homemade Brown Rice Amazake with a Yogurt Maker. I was about to make amazake in the rice cooker as usual, but I was using it for something else.
Instructions to make Easy Homemade Brown Rice Amazake with a Yogurt Maker:
- Prepare cooked brown rice. This is 3 rice cooker cups (540 ml) of brown rice (measured before cooking) with 1/3 a rice cooker cup (60 ml; measured before cooking) of adzuki beans, cooked the usual way.
- Put the cooked brown rice and water in a sauce pan. Simmer for about 10 minutes, and it will become like rice porridge. Turn the heat off and let it cool down to 60°C.
- Break the rice malt up with your hands and add it to the pan. Mix well to blend with the rice porridge.
- This is how it looks with the rice malt mixed into the porridge.
- Transfer this to the yogurt maker, and keep it warm (If you can set the temperature, set it to 50 to 60°C).
- Taste it 12 hours later. If it's really sweet, switch the yogurt maker off. Mix the porridge up 2-3 times during these 12 hours.
- The rice grains and beans will still be intact.
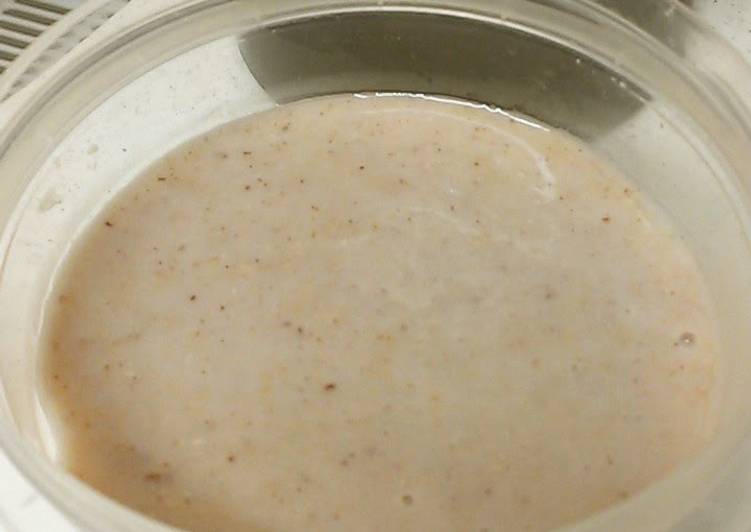
- If you don't like it to be grainy, puree it in a blender.
- The result is a thick, creamy amazake cream that has a subtle adzuki bean taste.
- You can use this amazake cream as a sweetener in desserts and drinks a little at a time, so transfer it to a storage container and freeze immediately.
- Even if you freeze the amazake, it won't solidify due to the high sugar content. You can scoop out as much as you want to use in cooking.
- This is the koji (rice malt) I used.
Amazake Lemonade is a delicious and healthy Japanese fermented beauty drink made from rice and rice mold! Since amazake is made with rice it's naturally gluten free. While bottled or canned amazake is A more reliable tool for making amazake is a yogurt maker with variable temperature controls. Put the mixture in a rice cooker on the "keep warm" setting with the lid open and covered with a kitchen towel. An easy way to make koji rice step by step.
So that’s going to wrap this up for this special food easy homemade brown rice amazake with a yogurt maker recipe. Thanks so much for reading. I am sure you can make this at home. There is gonna be interesting food in home recipes coming up. Remember to save this page on your browser, and share it to your family, friends and colleague. Thank you for reading. Go on get cooking!