Hello everybody, I hope you’re having an amazing day today. Today, I’m gonna show you how to prepare a special dish, even abroad! not umeboshi pickled plum, but pickled apricot. One of my favorites food recipes. For mine, I will make it a bit tasty. This will be really delicious.
Even Abroad! Not Umeboshi Pickled Plum, but Pickled Apricot is one of the most popular of current trending meals in the world. It is enjoyed by millions daily. It’s simple, it’s fast, it tastes yummy. They’re fine and they look fantastic. Even Abroad! Not Umeboshi Pickled Plum, but Pickled Apricot is something that I have loved my whole life.
Mix the salt and citric acid. Carefully wash the apricots and dry well with a paper towel. Remove the stem with a toothpick.
To get started with this recipe, we must first prepare a few components. You can have even abroad! not umeboshi pickled plum, but pickled apricot using 4 ingredients and 11 steps. Here is how you can achieve it.
The ingredients needed to make Even Abroad! Not Umeboshi Pickled Plum, but Pickled Apricot:
- Get Apricots
- Make ready Salt (18% of the apricots)
- Prepare Citric Acid (3% of the apricots)
- Make ready Vodka
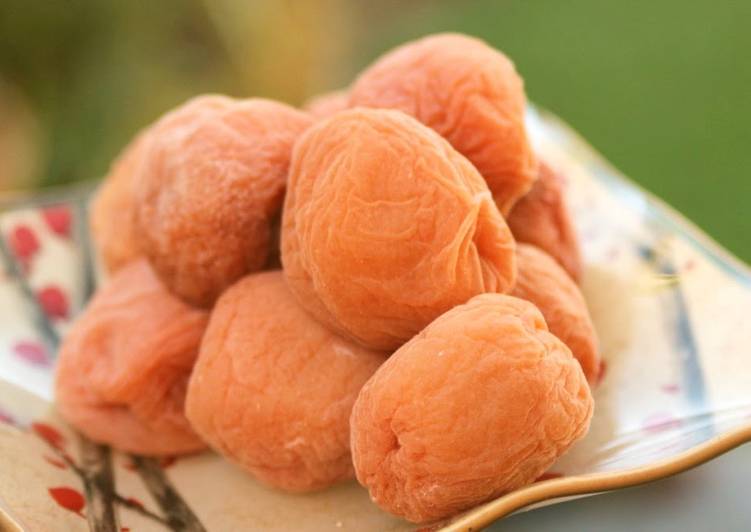
Initially, the preserved plums are actually yellow, not the familiar red you typically see Umeboshi. Not Umeboshi Pickled Plum, but Pickled Apricot Recipe by cookpad.japan. Not Umeboshi Pickled Plum, but Pickled Apricot. Japanese ingredients are hard to find when living overseas.
Instructions to make Even Abroad! Not Umeboshi Pickled Plum, but Pickled Apricot:
- Mix the salt and citric acid
- Carefully wash the apricots and dry well with a paper towel. Remove the stem with a toothpick.
- Wipe the apricots from Step 2 with a vodka-soaked paper towel. (This is to prevent mold from forming)
- Add Steps 1 and 3 alternatively to a sterilized bottle. (Sterilize the bottle by boiling and wiping with vodka.) Store as-is for a month in your pantry.
- During storage water will form so shake the bottle about one a day to spread the liquid. The picture shows two days after making. The volume has decreased.
- When they are well-pickled, put them outside to dry them out. On the first day they will be prone to sticking to the net so turn them over soon.
- If you put the pickled apricots back into Step 5's bottle on the first evening after leaving them out, they will become soft, but if they have already softened you don't have to worry. You can take them inside.
- They will be done on the 2nd or 3rd day of drying out. Try not to get them wet with rain or other moisture. The picture of the basket in Step 6 or 9's bottle is fine. The salt will spread gradually.
- I promptly used some in an onigiri rice ball. The color was slightly yellow but the flavor was like a tart, salty umeboshi pickled plum. They turned out well and mold-free.
- If you have red shiso, prime them by rubbing with salt to remove bitterness and add them to Step 5 when the liquid starts to form. The shiso-addition gave me a good result.
Even if they are available they are usually expensive or not from Japan etc. Umeboshi are actually a pickled delicacy made from a fruit called 'ume'. The fruit is something like a cross between an apricot and a plum. The bulk of the calories in pickled plums come from carbohydrates. Carbs have had a bad rap of late because of their link with weight gain but they should. ツ"Hai umeboshi kudasai, yes, pickled plums please,ツ" I said in return while making a circular motion with my hand around the table indicating that I wanted one for all of us.
So that’s going to wrap it up for this special food even abroad! not umeboshi pickled plum, but pickled apricot recipe. Thanks so much for your time. I am confident that you can make this at home. There’s gonna be more interesting food in home recipes coming up. Remember to save this page in your browser, and share it to your family, friends and colleague. Thank you for reading. Go on get cooking!